
Two years ago when I built my first PVC pipe ama in Fiji, I made the nose fairing out of a solid piece of fence post. I shaped it with a cane knife and a block plane. It performed well enough and didn't leak, but I didn't like the weight of it out on the tip of the ama.
This time I have prefabricated a foam and fiberglass nose cone that I will carry in my luggage.

The nose cone is built in the same way as a complete foam and fiberglass ama with a central plywood web and foam blocks glued to both sides with polyurethane glue. You can use either ESP beaded white foam or the blue or pink Styrofoam sold for insulation.

I did the rough shaping with a handsaw and electric hand plane. The final shaping is done with a sanding block.

About four inches of the cone is recessed to fit inside of the PVC pipe. Both the recessed area and the rest of the cone is shaped down to allow for the thickness of the fiberglass and fairing compound. I allowed about 1/8" or less for this.

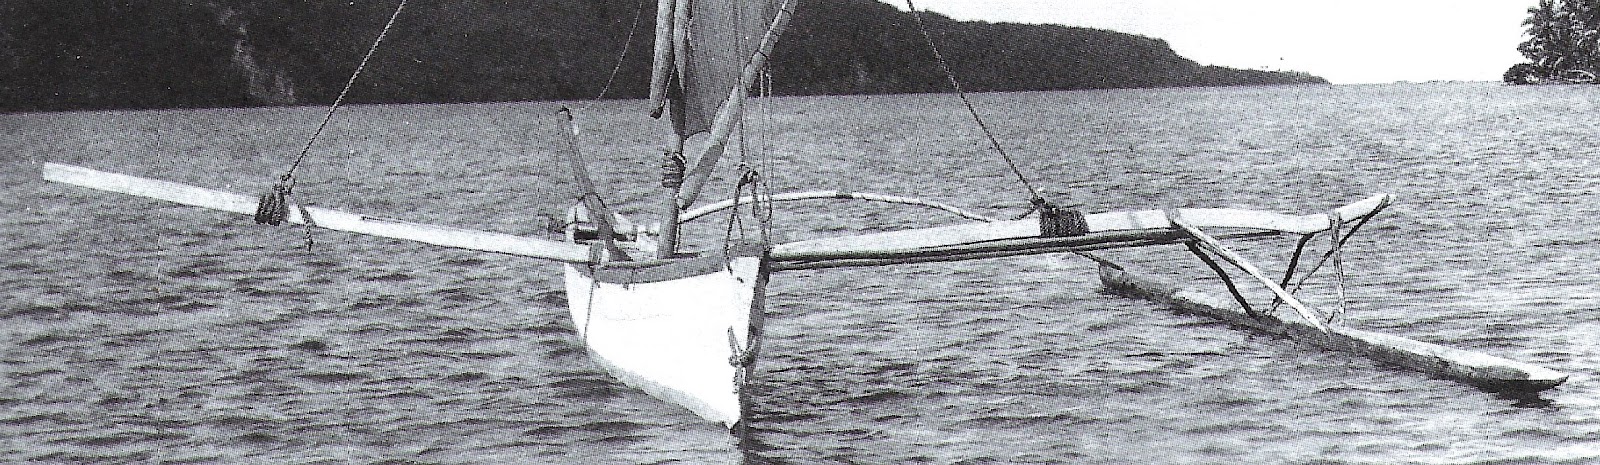
Here the foam is fitted inside of a short section of 6" PVC drain pipe to check the fit.

The 9 oz cloth fiberglass is applied (with epoxy resin only!) from two sides allowing a double thickness overlap along the top and bottom. I used small round patches of fiberglass on the very tip where it is difficult to get the fiberglass to stay tight against the foam.

After the epoxy has cured, I applied fairing compound with a putty knife.

After final sanding of the fairing compound, the nose cone is ready for installation into the end of the PVC pipe. It will be held in place with a flexible adhesive sealant like Sikaflex or 3M 5200. Silicone will work if you cannot get the polyurethane sealant.
An elegant solution and another chapter in the "Creative Handbook for Seriously Practical Beach-Build-Boating Adventure." As useful as any holy book can be! -- Wade
ReplyDeleteThanks Gary! That's how I'm going to build the ama for my Ulua. Will you be plugging the stern end of the ama with another foam cone or do you plan on simply closing it off with a PVC cap?
ReplyDeleteI plugged the stern of the ama with a disc of plywood shoved inside with silicone sealant. I cut the aft end of the pipe at a rakish 45 degree angle.
ReplyDeletesilicone sealant
ReplyDeletepolysulfide sealant
butyl sealant
ya know....you could just take a thin walled 6" pvc pipe, cut the end to about 30 degrees, and then heat a bowl full of sand in your weber grill for an hour...get it to 400 degrees or so....and then jam the cut pipe end into that hot sand 6" deep. after a few seconds the pvc will be pliable. squeeze the hot pipe end together and hold it there. use a rag with cold water to cool it. use pvc glue and a clamp to seal it. flash the seam with pvc shower pan liner and adhesive. once the sand is hot this process should only take a a few minutes per outrigger. you will have a knife edge on your pvc outrigger in mere minutes. AND...before you do this process, install a 1x3 on the inside of the outrigger, push it to the side and fill the void above it with spray yellow foam. once it hardens, drill the pipe, through the foam and through the 1x3 and install two threaded bolts from the inside with the threads on the outside. now you have a means to secure this to the cross arms. shazaam.
ReplyDelete@0 years or so ago I made a bunch or PVC pipe outriggers and got a nice rocker by cutting a wedge out on both ends and strapping the pipe till the edges met. Takes a lot of trial and error, but the result is a double taper with a v section at both ends. A foam bow and stern piece and glass job completes it.
ReplyDeleteThats awesome thank you. Great method
DeleteCheck this pipe trick please
ReplyDeletehttps://www.youtube.com/watch?v=TiVGiIs_57o